So I'm a massive fan of Ubiquiti and its UniFi product. Ever since I decided last year to get a Dream Machine, I've not looked back. One thing which I've absolutely loved about the UniFi interface is that it does so over HTTPS. Now granted the risk of using HTTP over a private network is small, it's still something I'd rather have. After all, your router is perhaps the most sensitive networking device you have on a home network. I want to do whatever I can to ennsure that I secure it as best as possible. Most devices don't provide any option at all to have their admin interfaces served over HTTPS.
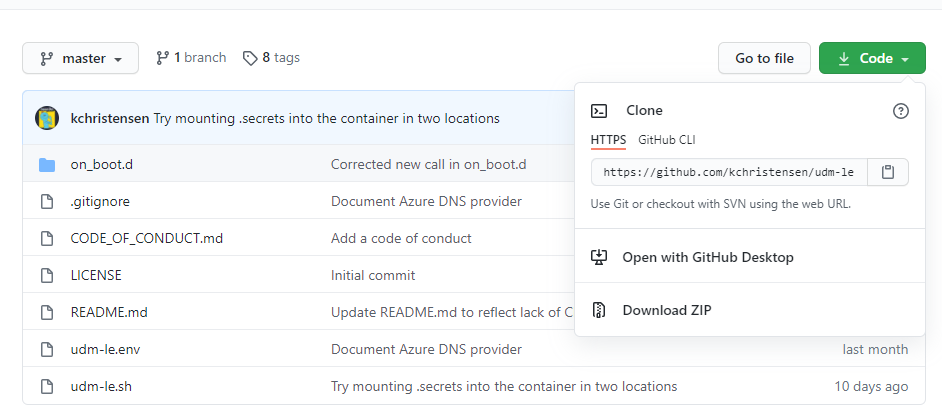
Now this is all well and good. I had a private certificate which I had been using since last year, which I created using my own private CA (using good old OpenSSL). This served me well! Well until my UniFi device received a significant update. That nuked the certificate which I was originally using. Now I think that certificate automation is very important, and extremely useful! I could have gone and created a new certificate, and put it into place, not worry about it for a year, and repeat the process before it expired (well most likely after it had expired). The fact that I already have a local, private, ACME server running, I thought that I could simply attempt to use this. In my search for soluations I came across this GitHub repo: https://github.com/kchristensen/udm-le.
Well let's look why I want to use a private ACME server in the first place. The less information which is publicly available, the better. With CAs such as Let's Encrypt, all certificates which it generates becomes public. This is due to the fact that it has to publish any created certificate to a Certificate Transparency (CT) log. I've written a post about this in the past as to how this could potentially be a security risk. I didn't want to expose any of my details of my home network infrastructure. But after thinking it through, what is really the risk? The IP address associated with the certificate is still going to be a private IP address. This means that for any attack to be successful I would have to be on the same private network as the attacker. Also considering the fact that I have things such as MFA enabled on my account, and which I have to enter to access the admin interface, I think that exposing the details is a pretty small risk. In fact, it almost becomes security through obscurity.
Cloudflare
So how do you get all of this working? Firstly I use Cloudflare for my DNS, so the very first step is to get an API token:
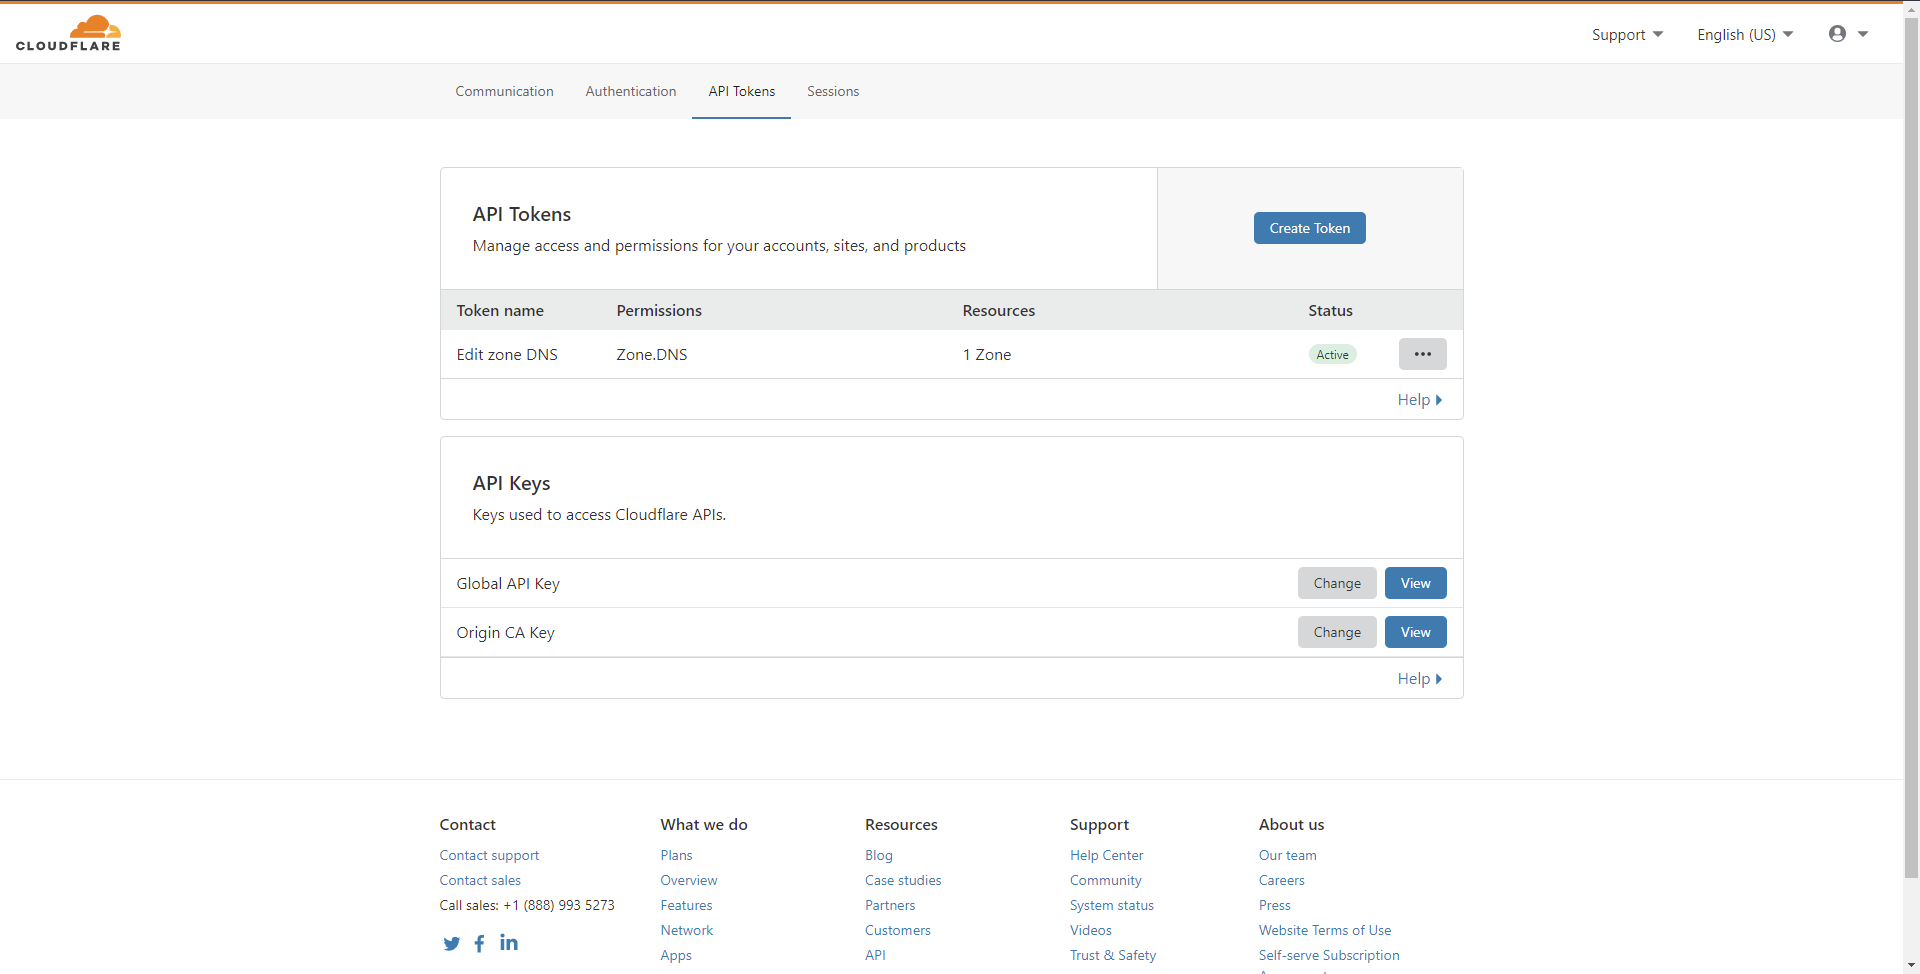
You can use your Global API Key, but I wouldn't recommend doing this. This gives access to just about everything with that key. A much more secure option is to instead create a new API token. To do this:
- Hit the Create Token button on the page.
- Use the Edit zone DNS template, but pressing the Use template button on that row.

- Leave the Permissions as is (it will need Edit permissions to be able to successfully perform the DNS challenge).
- In the Zone Resources section set a new entry to Include and the specific domain which you will have the certificate reside on:

- Since Let's Encrypt does not use a set list of IPs to validate from, you will need to leave the IP Address Filtering section blank (allow from all IPs).
- Press the Continue to summary button.
- Finally, press the Create Token button to create the API token:
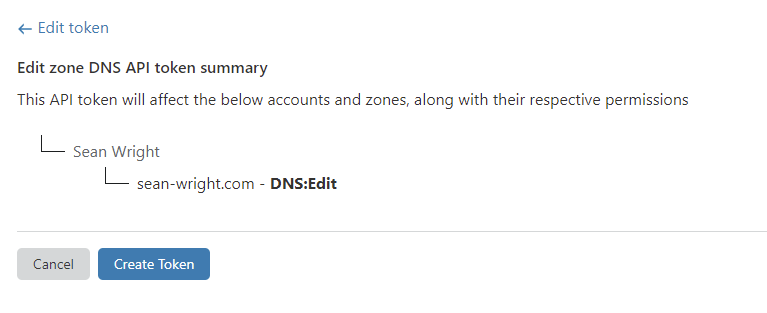
- Once you have successfully created the token, copy the API token (ensure that you don't store it anywhere which is not secured).
- You will also need to set a DNS record to point to the private IP address of your device.
SSH Access
You will need SSH access to your Dream Machine (or UniFi Controller):
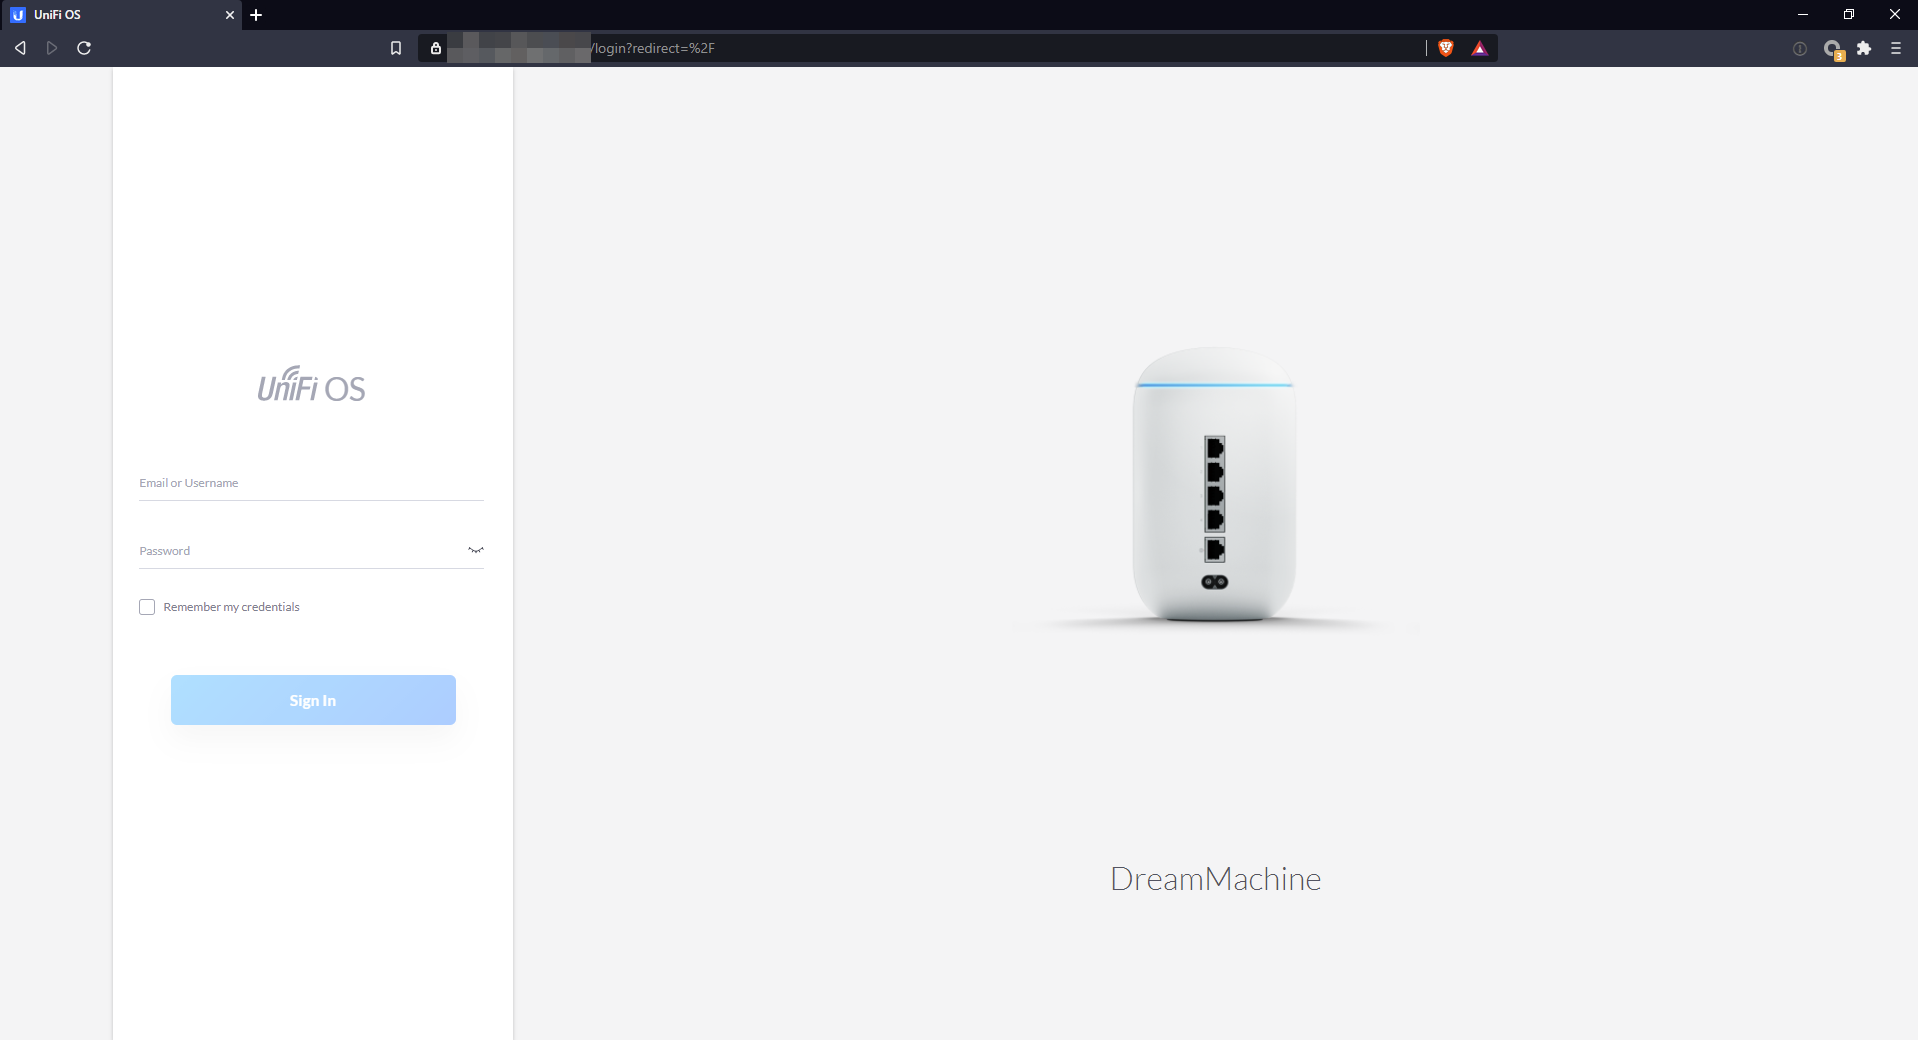
- Firstly, you will need to go to the Dream Machine home page. You can do this by navigating to the IP address of your Dream Machine over HTTPS.
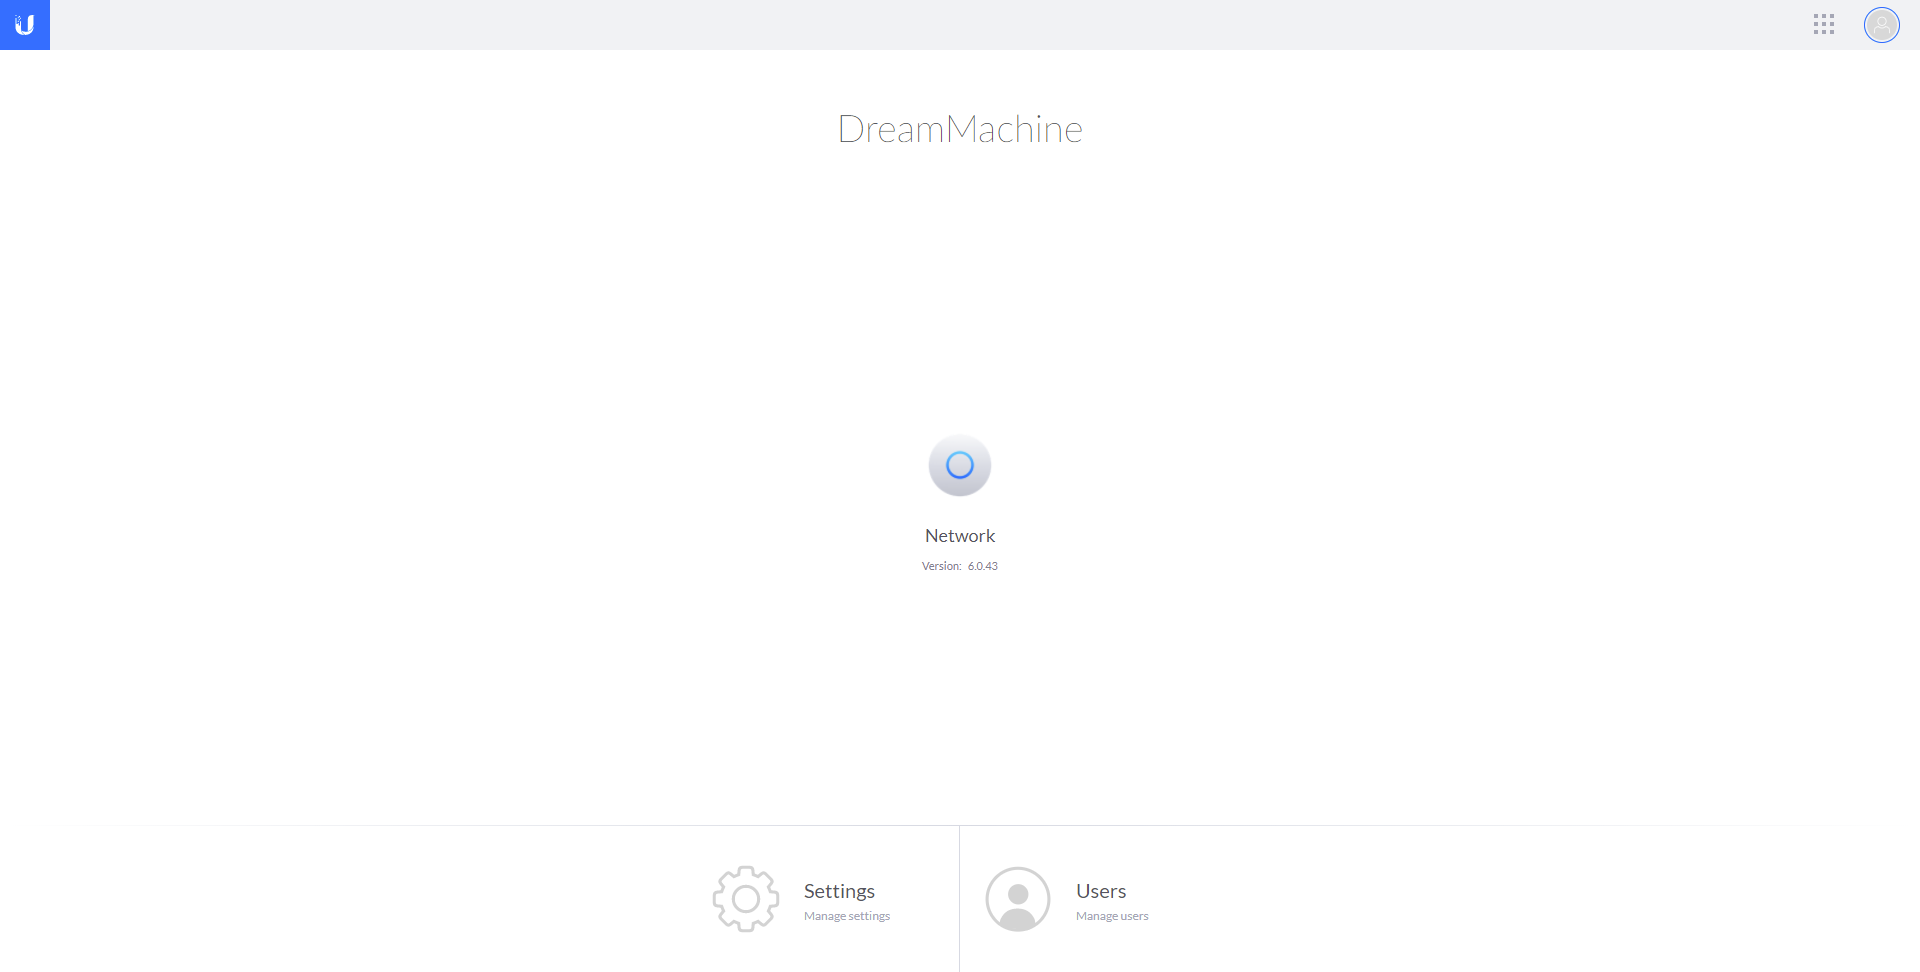
- Click on the Settings option at the bottom of the page.
- In the Settings section click on the Advanced option in the left hand panel:
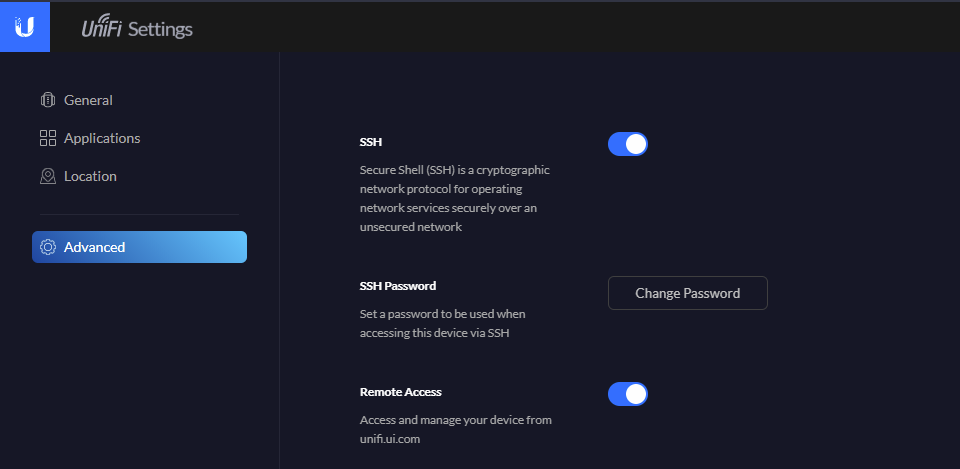
- Enable SSH.
- Set an appropriate SSH password by clicking on the Change Password button.
Once you've done that you should be able to SSH into the device as root, using the password which you set above.
Let's Encrypt Magic
The final step is the Let's Encrypt magic.
- SSH into your Dream Machine.
- Firstly download the code from the GitHub repo (download the repository as a ZIP), https://github.com/kchristensen/udm-le, to the directy /mnt/data on the device.
- Unzip the code and rename the directory from
udm-le-mastertoudm-le. - Go into the directory
udm-leand edit the fileudm-le.env. - Change the following values:
- CERT_EMAIL - to an email address which you want set on the certificate
- CERT_HOSTS - to the hostname which you gave your Dream Machine
- DNS_PROVIDER - ensure that this is set to the DNS provider which you are using (in my case
cloudflare) - All DNS provider related fields
- Once you have done that, the last thing to do it run the script:
/mnt/data/udm-le/udm-le.sh initial
If you have done everything correctly you should be able to navigate to the hostname which you gave your Dream Machine and no longer see any certificate errors!
Be aware that while a cron job is created to ensure you get the automatic renewals, any firmware updates on the device will wipe things again. So you can either manually repeat this process on the Dream Machine, or follow the instructions on this GitHub repo to persist the changes: https://github.com/boostchicken/udm-utilities/tree/master/on-boot-script.