It has been some time since I last pen tested an Android mobile app. Usually I would simply fire up my trusty Burp Suite, configure my phone to point to it, install the Burp Suite (PortSwigger CA) CA certificate and then away I would go. Off I went, only to be met with the app not communicating. OK, so I thought that the app might have been doing some form of certificate pinning. Upon decompiling the app I couldn't see any evidence of this. So I was stumped, until I reviewed the offical Android developer documentation on the matter.
The important part of the documentation was this bit:
By default, secure connections (using protocols like TLS and HTTPS) from all apps trust the pre-installed system CAs, and apps targeting Android 6.0 (API level 23) and lower also trust the user-added CA store by default.
This means that apps running on Android versions 7.0 and above, the developer needs to explicitly configure the app to also use the CA's in the user trust store on the device. You can actually confirm this by creating a AVD instance which runs on Android versions prior to 7.0. So I was now faced with 2 choices:
- Modify the application configuration to allow it to also trust the PortSwigger CA which I install on the device (which ends up in the user trust store on the device).
- Inject the PortSwigger CA into the system trust store.
I decided to do the latter since it would allow me to use to the same AVD instance for multiple apps, and test them as they would be released (closer to the real thing).
Create Custom CA
So after doing all of this, I tried it out and low and behold I got an error:
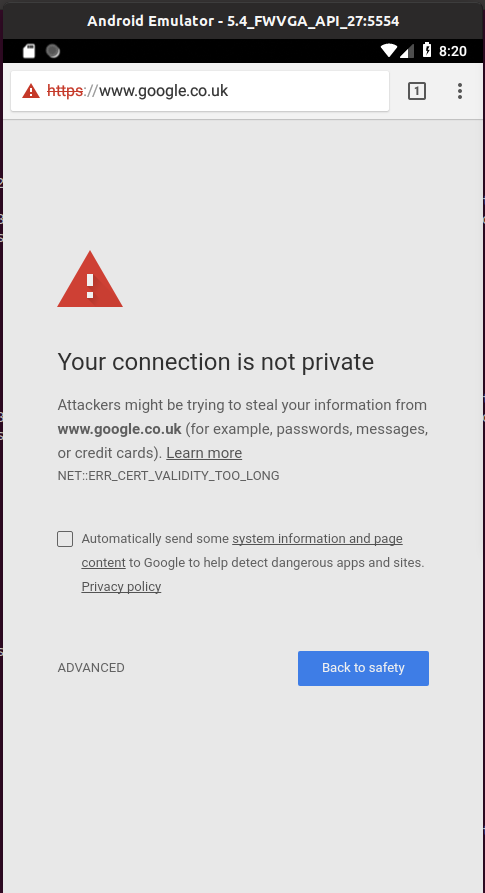
It turns out that when Burp Suite generates a site certificate, it uses the expiration dates of its intercepting CA as the expiration dates of the generated certificate. This results in the above error when your certificate is valid for more than 2 years.
So the very first step is to create your own CA which you will configure Burp Suite to use.
- Generate the private key of the CA:
openssl genrsa -out burpCA.key 4096

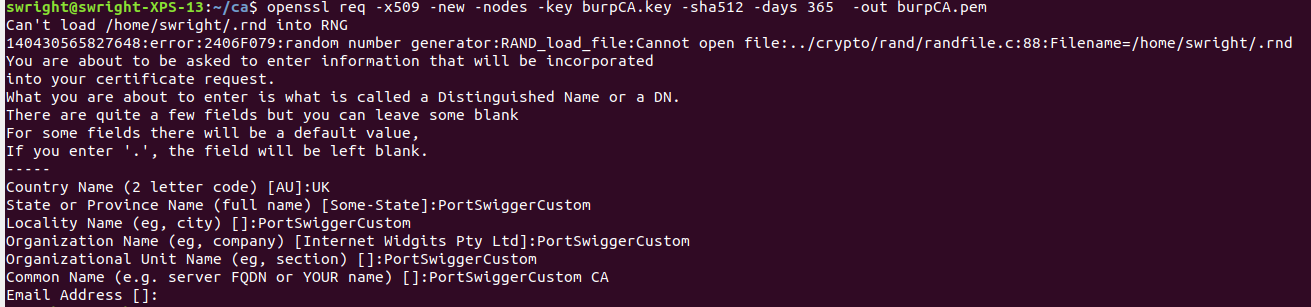
- Generate the CA certificate:
openssl req -x509 -new -nodes -key burpCA.key -sha512 -days 365 -out burpCA.pem
- Convert the certificate into PKCS12 format:
openssl pkcs12 -export -inkey burpCA.key -in burpCA.pem -out burpCA.p12
Ensure that you supply any passphrase:

- Upload the certificate into Burp Suite
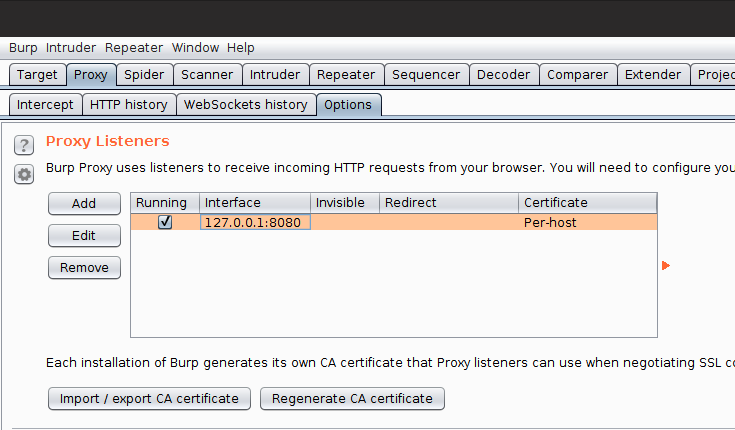
a. Navigate to the Proxy -> Options tab
b. Click on the Import / export CA certificate button
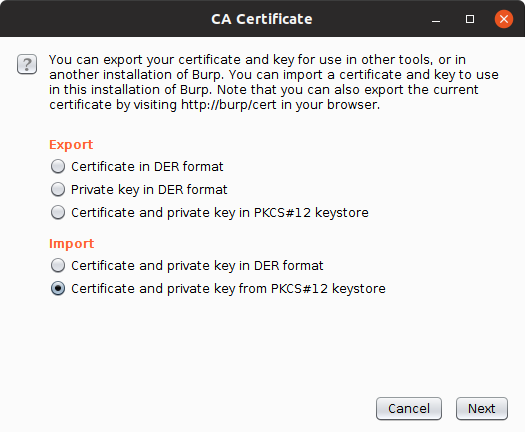
c. Select the Certificate and private key in PKCS#12 format option from the Import section:
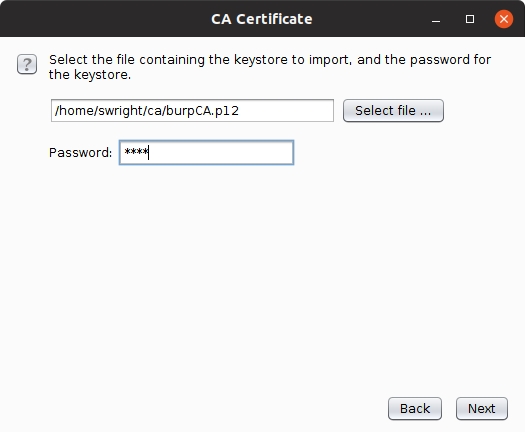
d. Select the burpCA.p12 file and enter in your passphrase:
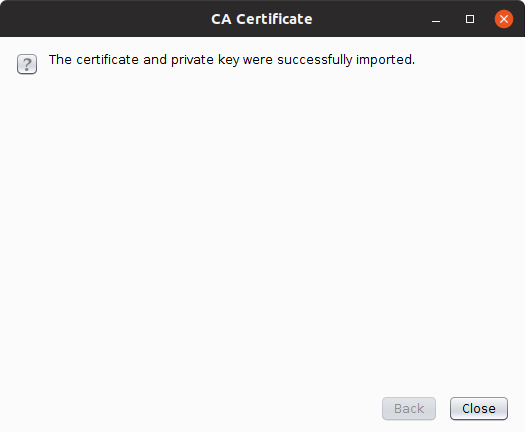
f. Click on the Next button and ensure that the certificate and key were imported successfully:
Prep Custom CA For AVD
The next step is to prepare the CA certificate to be in a format which will work on the Android Virtual Device (AVD).
-
Make a working copy:
cp ./burpCA.pem ./burpCA.pem.avd -
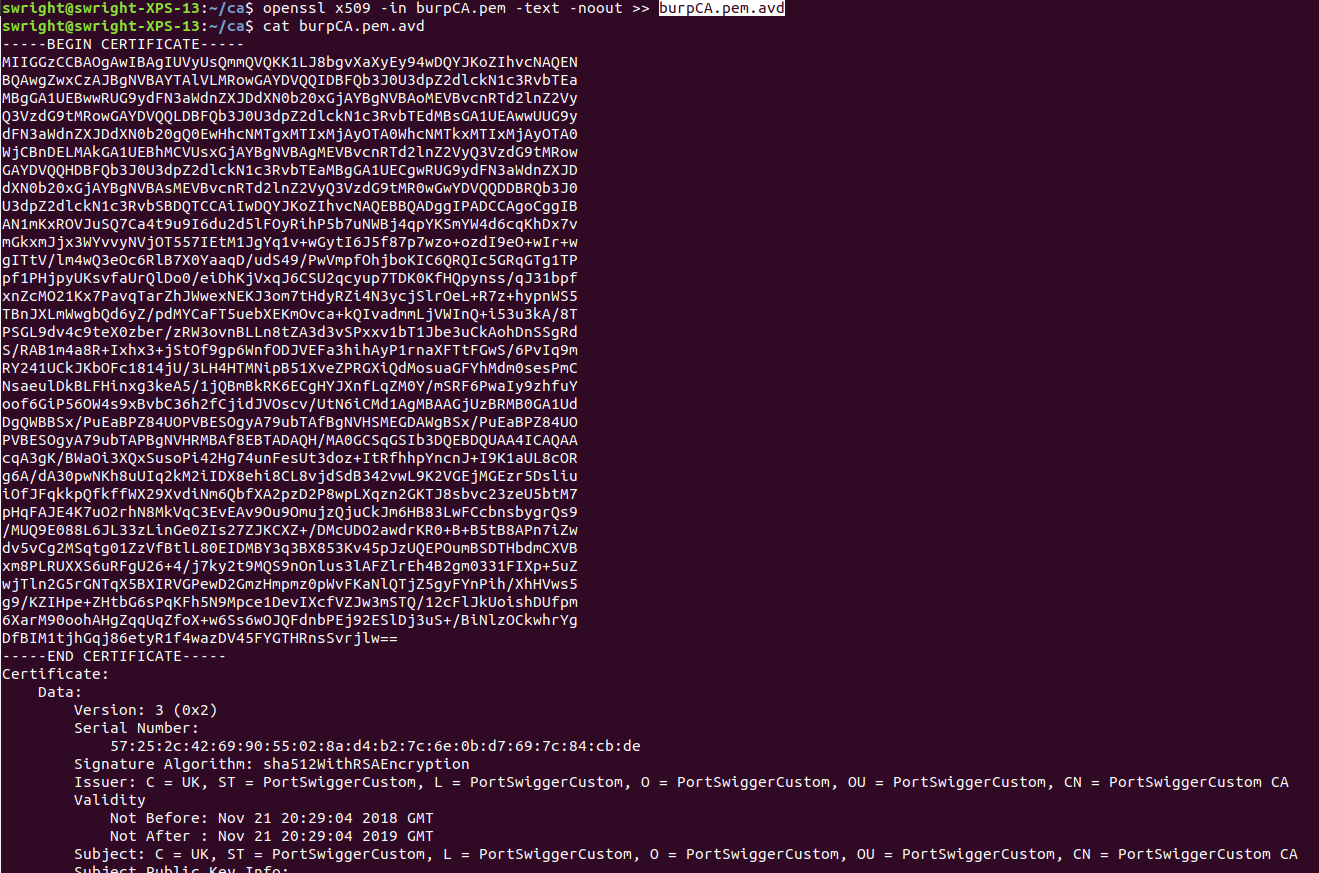
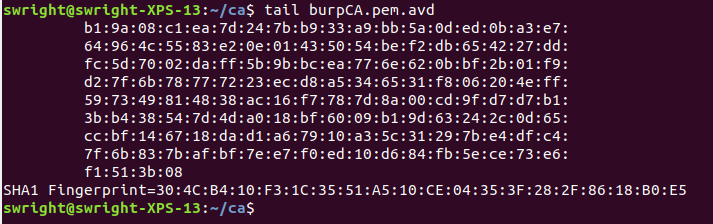
Write the text format of the certificate to the AVD certificate:
openssl x509 -in burpCA.pem -text -noout >> burpCA.pem.avd
-
Write the SHA-1 fingerprint to the AVD certificate:
openssl x509 -in burpCA.pem -fingerprint -sha1 -noout >> burpCA.pem.avd
-
Finally change the file to the subject DN hash:
openssl x509 -in burpCA.pem -subject_hash_old -nooutmv ./burpCA.pem.avd <hash>.0
Whereis the value of the hash output from the first command.

Import CA
The next step is to import the CA into the AVD.
-
Start up your AVD from Android Studio.
-
Locate the directory where your Android SDK platform-tools is saved to on your file system:
a. On Linux this is usually ~/Android/Sdk/platform-tools
b. On MacOS this is usuall ~/Library/Android/sdk/platform-tools -
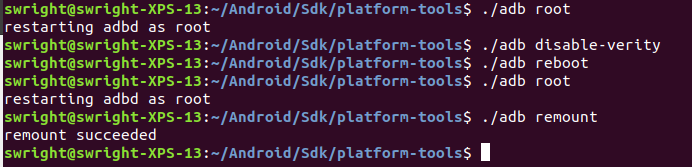
Mount the emulator file system in read/write mode so you can upload the Burp Suite CA certificate:
./adb root
./adb disable-verity
./adb reboot
./adb root
./adb remount
If you get permission error, you will need to start the emulator with the writable flag (the emulator binary is in the directory ~/Android/Sdk/emulator):
emulator -avd <emulator-name> -writable-system -
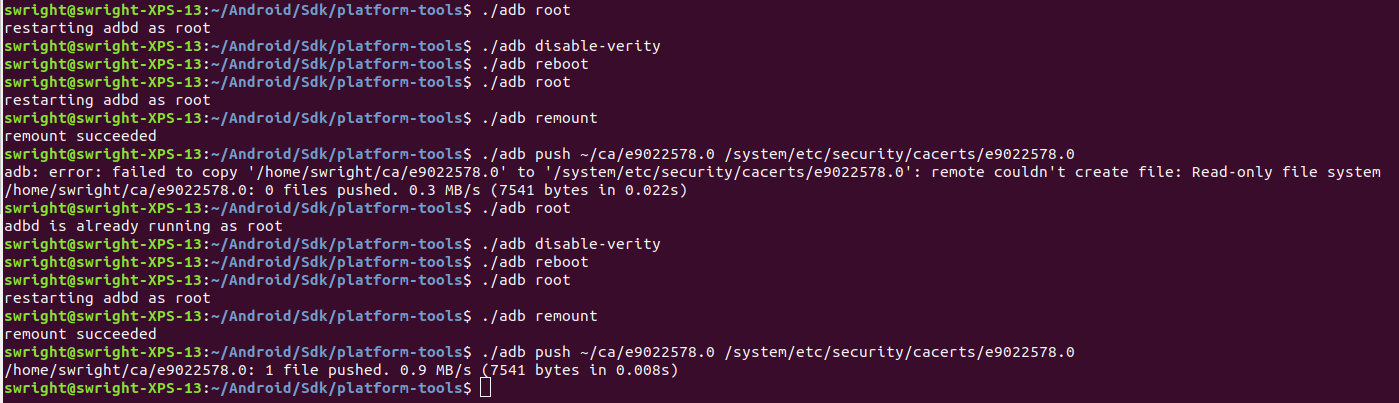
Push the certificate to the AVD:
./adb push ~/ca/<cert-hash>.0 /system/etc/security/cacerts/<cert-hash>.0
Whereis the has which from the certificate which you created in the previous section. -
You may need to do steps 3 and 4 twice. For some reason I've always had this fail on the first time but succeeded on the second time:
-
In your emulator you can validate if the CA is not installed as part of the system CAs:
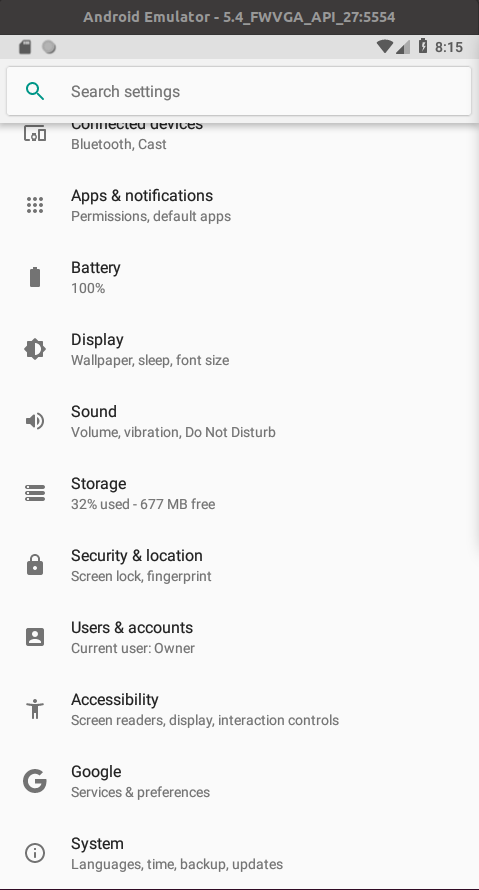
a. Go to settings and select Security & location:
b. Select Encryption & credentials:

c. Select Trusted credentials.
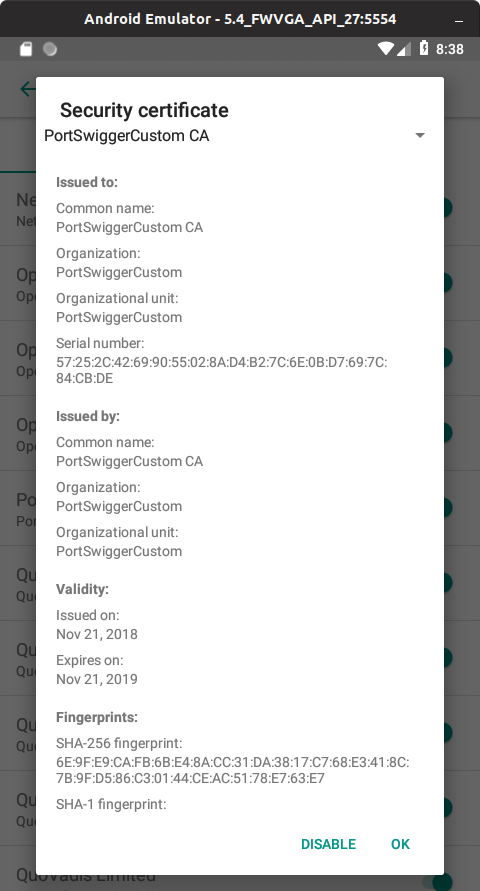
d. Scroll and look for your Burp Suite CA (you can select the entry to view further details):
-
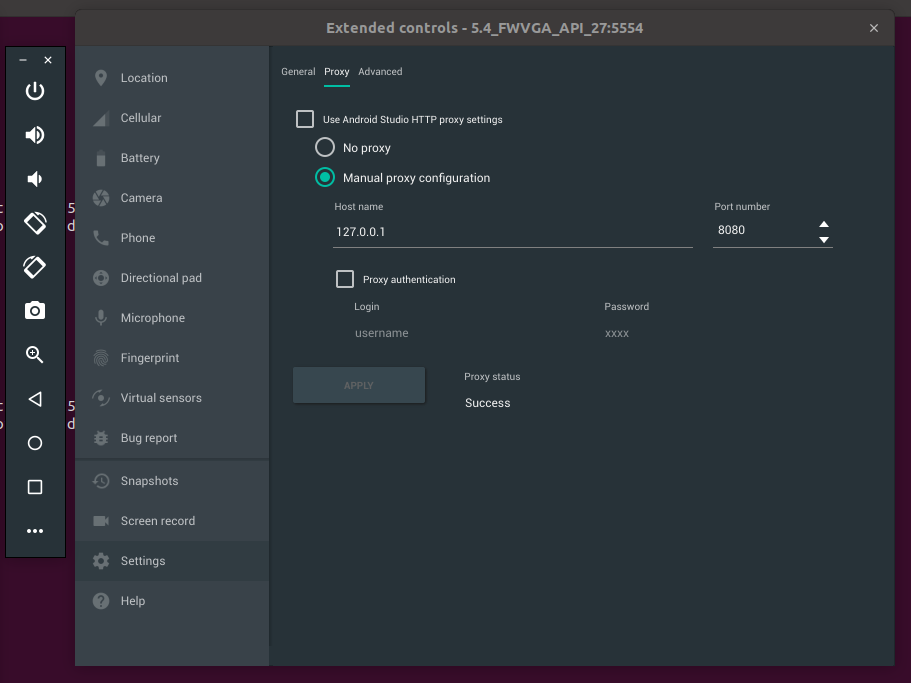
Ensure that you configure your emulator to use Burp Suite in the emulator properties:
-
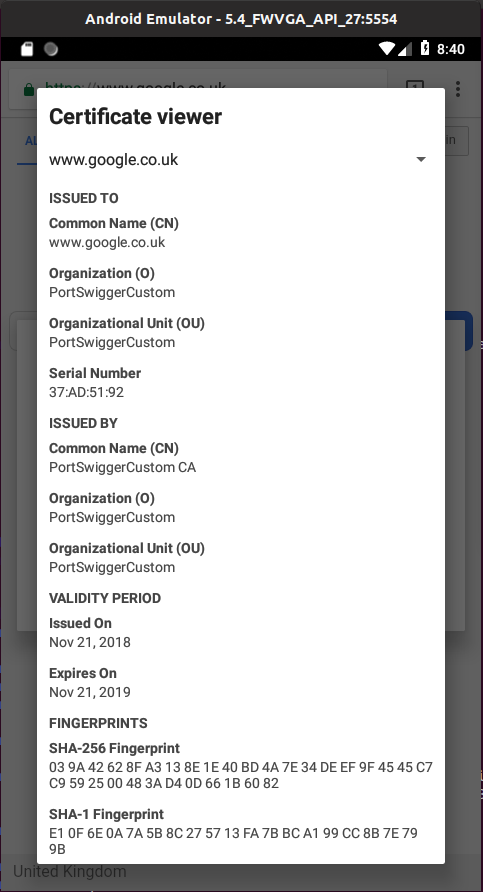
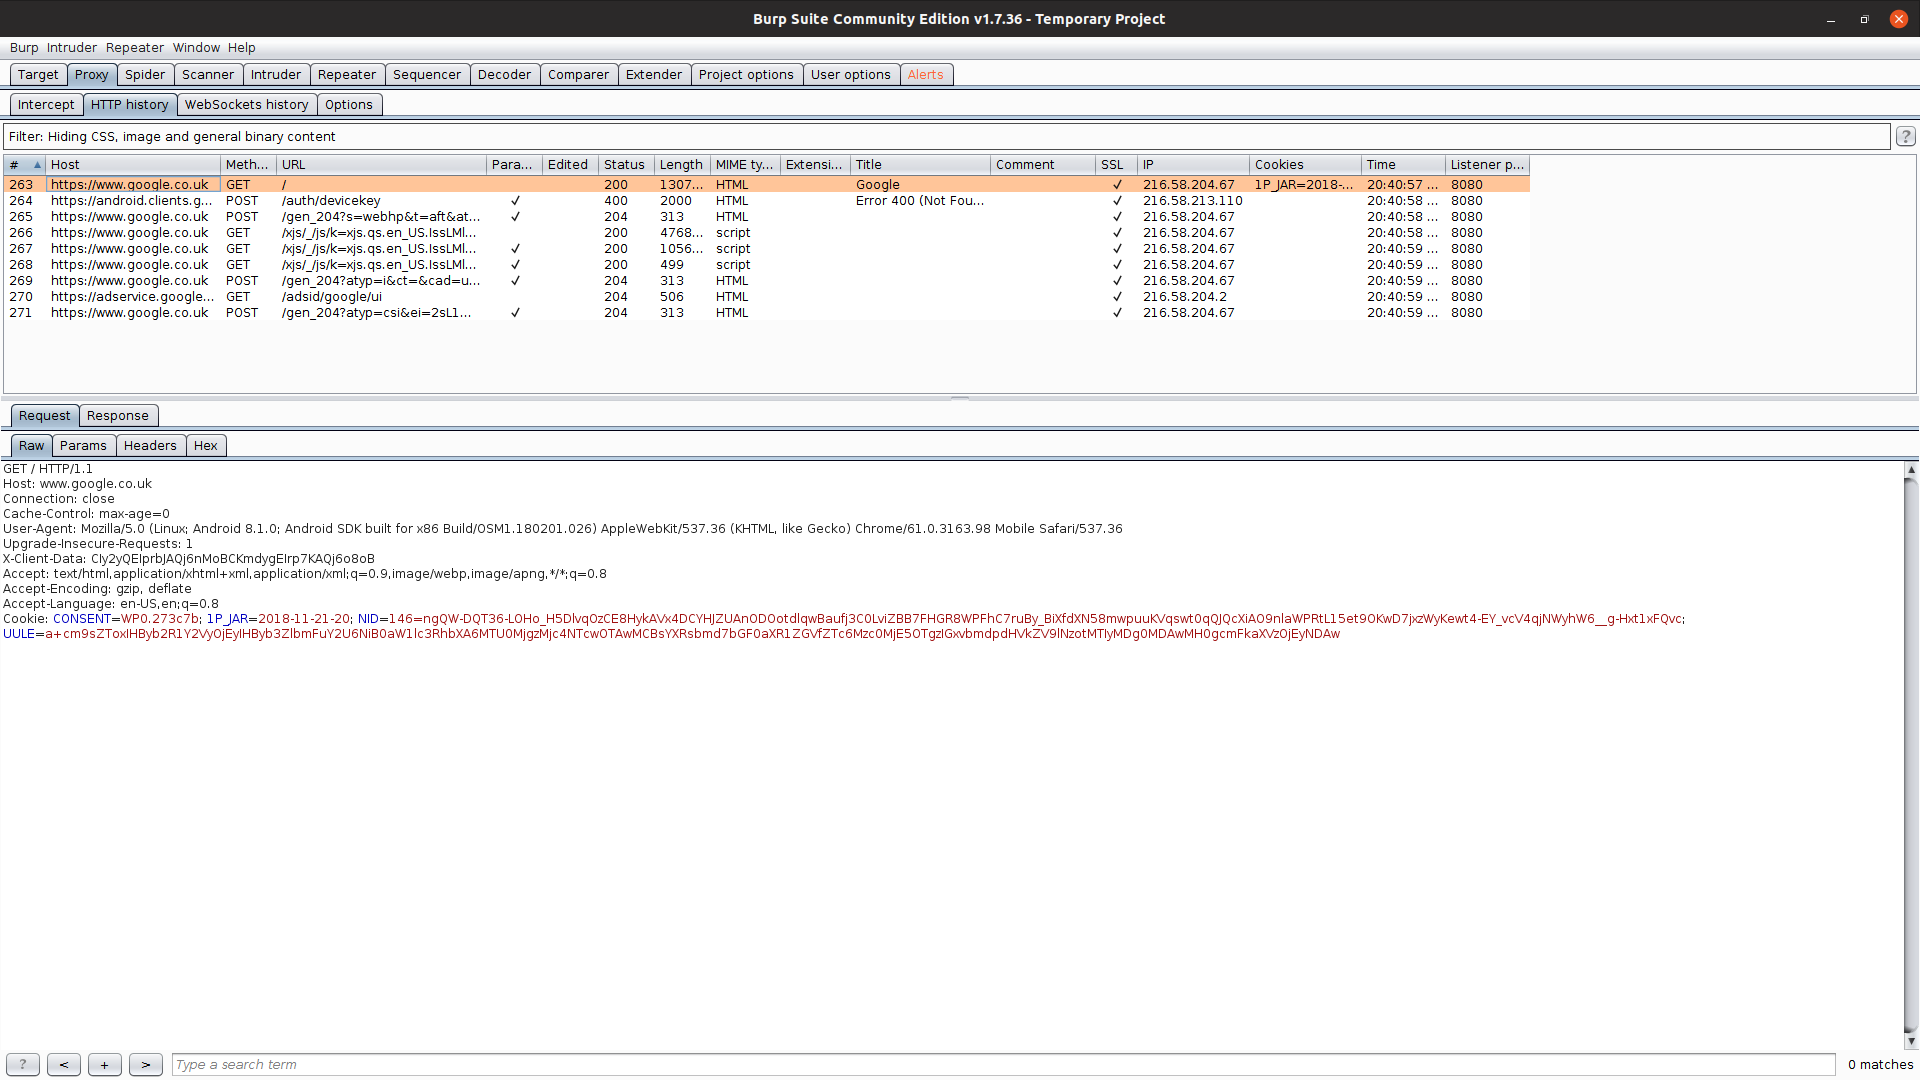
Finally navigate to a site over HTTPS and ensure that you do not receive any certificate errors:

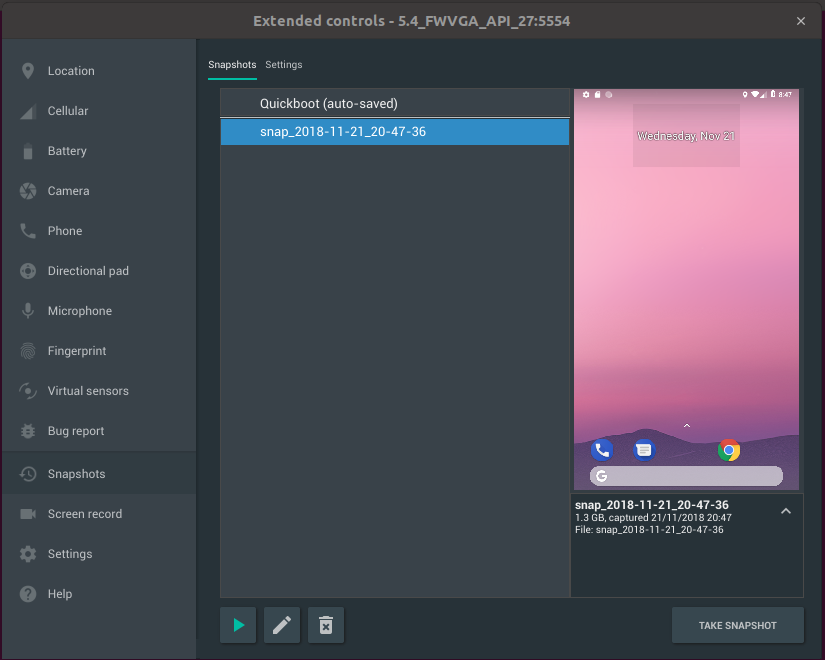
A final reminder, ensure that you take a Snapshot of your AVD instance! And please make sure that you only use this for legitimate purposes.